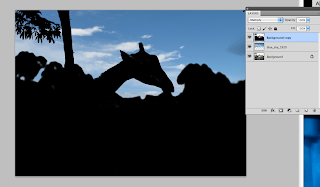
Here's an easy tutorial on doing a quick sky replacement using photoshop.
1. Load up your image in photoshop.
 2. Now take in the sky image you want to add to your shot and place it above the original shot aligning it the way you want.
  3. Duplicate the Background layer and place it on top of the sky layer. Convert the layer to Black & White.
 4. Bring in the Level controls and use the sliders to create a matte out of that layer . Check the below image.
 6. Now go to Edit> Copy Merged and Paste it. A new merged layer will be created on top. Turn off the visibility of the Sky Layer and the Matte Layer. Change the merged layer's blending mode to screen.


No comments:
Post a Comment