Pages

Wednesday, March 24, 2010

Tip: Using Blending modes while compositing

Every designer knows that there are no fixed set of instructions to follow when it comes to compositing. I was working on a compositing project last night and found out an easy way to make your compositing seems more realistic.Depending on the scene you are working on, you can play with the layer blending mode to find a good match and then work on it to make it look like the element is actually on the background plate.In the eg. shown below,I duplicated the hole layer,changed the blending mode to overlay and brought down the opacity of the duplicate layer.It seems really effective.Give it a try,Might come handy :)

Digital Art: Bottles

Tuesday, March 23, 2010

Wallpaper: Unplugged [1280x800]

Tutorial: Making the Innerspace


1.Create a new document in photoshop.1280 px wide,800 pc height.Give it an orange fill.


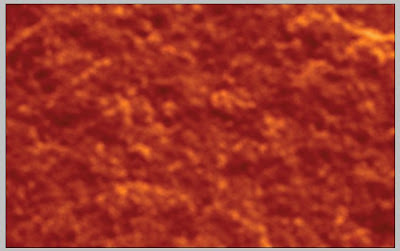
2.Drag a texture on top of that and change the blending mode to overlay or multiply.


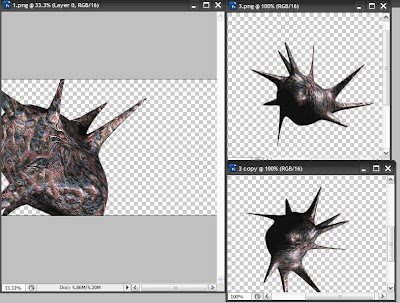
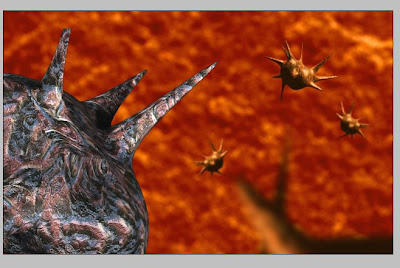
3.Create the 3D shape in max and render it out as a transparent png.In photoshop,duplicate them and transform each to make it distinct.


4.Drag and drop these elements on to our composition.Color Correct with curves and Apply individual blurs to give suitable depth of field.


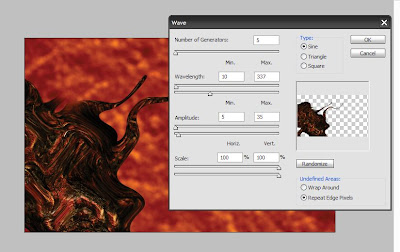
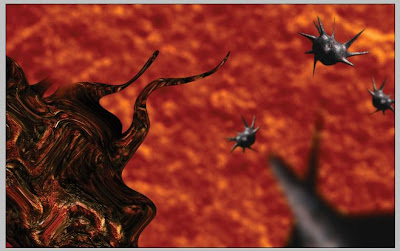
5.Duplicate the Big object layer.Apply a distort>wave filter on to the layer.This will make the tendacles wavy and more organic.Now with the wavy layer selected,remove the rest of the element using the eraser tool.


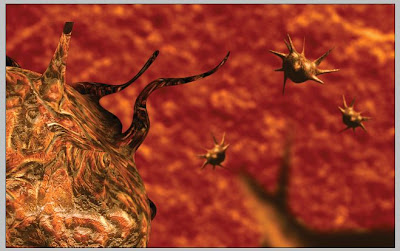
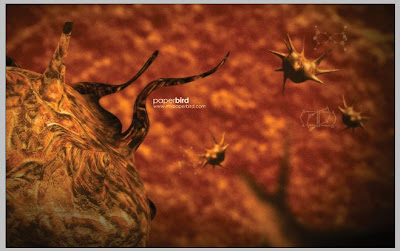
6.Apply a vignette,throw in some noise and Text.Adios!

Wallpaper: Innerspace [1280x800]

Video: Paperbird Feature Presentation Logo


Visit: www.mypaperbird.com

Monday, March 22, 2010

Wallpaper: Song [1280x800]

Tutorial:Create a Poster in Photoshop with 3D Text


Design breakdown of the Song Poster:Click to Read More.


1.Open any grunge texture in Photoshop.


2.Render out the 3D Text in Transparency from any 3D application of your choice.


3.Drag and paste the texture on to a new document in Photoshop preferably Portrait.


4.Layer via cut and distort the bottom portion of the document to create a ground.


5.Create a new layer under the texture layer and fill it up with a blue-white gradient.


6.Set the texture layer blending mode to overlay and set the transparency to 50%.


7.Use some floral brush sets and create a background flourish on a new layer.


8.Drag and drop the 3D Text to our document.


9.Duplicate the text layer.Apply a chrome filter on the text.Change the blending mode to Linear Dodge[Add].


10.Duplicate the text layer.Apply Gaussian blur.Bring down the color to black.Drag the layer under all the other text layers.Cut down the bottom part of text.This is to create a shadow cast on the wall.


11.Apply a vignette. I was hoping to stop this at 10 steps! :(


Visit: mypaperbird.blogspot.com

Thursday, March 18, 2010

Wednesday, March 10, 2010

Quick Tip: Glassy text using photoshop


An easy way to create a glass text effect using photoshop's basic toolset.Type your text.Duplicate the layer multiple times and arrange it on top of each other with slightly shifting the position and lowering down the opacity on each individually.Merge them all.Apply curves to bring the highlights up.Now apply a glowing edge filter on the layer.Add in a background.You now have a 3d glassy text!