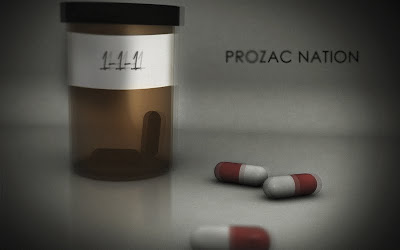
The VFX breakdown of creating this image.
Click to read the full post...
I used 3D Studio Max to build up the basic models.I am not going into those details at this moment,lets focus on post-prod.After setting up the scene,i rendered out two verions of the image.One with a skylight [to get the shadows realistic] and one with two point/omni lights [to get the reflections and glossiness].Saved both as JPGs.


Now entering the post-prod zone.In photoshop opened up the two files and layered it up in one document.Placed the skylight version on top and using an eraser,carefully removed unwanted areas from the skylight image to bring up the reflections and glossiness from the bottom image.

I did add the label on the container in photoshop.Created a white rectangle and using the warp tool,modified the edges to fit it to the cylindrical container.

Typed in the text in the label.I used a handwriting font to make it look more authentic.Used the eraser on the edges of the label to merge them seemlessly to the cylinder.

Played with the curves to make the image a bit more darker and did add a vignette on the top.

Now to make that 'confusion' effect on the image.I duplicated the layer 2 times,changed the opacity to a lower level and slightly changed the offset of the top layers.

I wanted a more realistic feel to the final output,so brought down the saturation to about a 25%.

Visit: mypaperbird.blogspot.com

I am learning photoshop. So your post really proven to be helpful to me. Thanks for sharing..
ReplyDelete