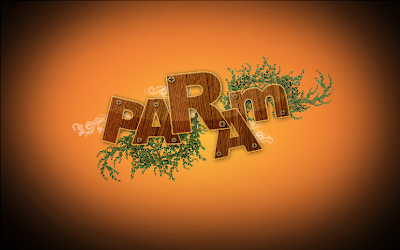
Here is a tutorial for creating a cool Wooden Text Effect.
Click the link below or the Post title to read it.
1. Open Photoshop and create a new document with the dimensions,1280*800 Pixels.
2. Fill it up with a radial gradient. See the image below

3. Now type in the text. We are doing this letter by letter.So type in the first letter.Goto layer effects.Apply a shadow and a stroke.See the image below
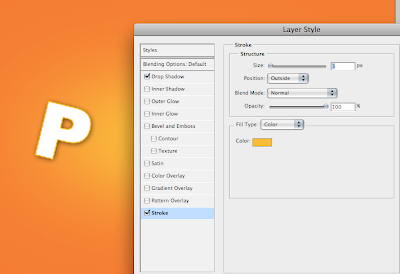
4.Similarly type in the other letters and arrange them as you wish.

5.Now bring in the wood texture.
6.Place it under the text.Now using the Magic wand tool,select the white space inside the text.Click on the Wood Texture layer.Goto Layer>New>Layer via cut.


7.Now place the new cut layer on top of the text layer.Repeat this on all the Letters.
8.To add a little more realism,bring in a screw image and place it over the texts,with a shadow effect applied on to them. See the image below.

9.Add a couple of flourishes and a foliage below the text.

10.Now we need a realistic light effect on the text.To do that. Flatten the text layers with the texture on it.Duplicate the layer.Using the curves,bring up the lightness of the top layer.Now with the eraser selected,remove the bottom portion of the top layer.See the image below
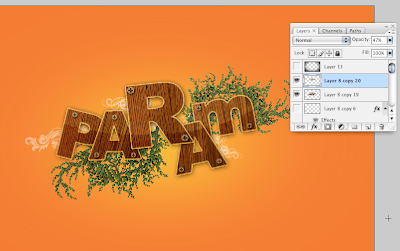
11.Add a vignette[to do so,fill a new layer with black and use eraser to remove the central portion]. You now have the final image!

Visit: mypaperbird.blogspot.com

No comments:
Post a Comment