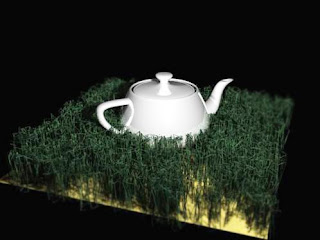
1. Create a simple plane [length=130, width=130; Lsegs=12, Wsegs13].
2. Apply some light color on the plane.
2. Create a cylinder [radius=3.5, height=14.5; Hsegs=1, Csegs=1, sides=25] and place it on top [anywhere] of the plane.
3. Select the Cylinder; press M to open the material editor. Click and empty slot and in the diffuse channel select a dark green color and check Wire & 2 Sided Properties. Apply the material on to the cylinder.
4. With the cylinder still selected go to create>compound>scatter.
5. In the modifier sidebar press pick Distribution Object and click on the plane.
6. Go down to the modifier panel until u sees source object parameters.
7. Change the duplicates = 230 and vertex chaos=2.5
8. U can try changing the way of distribution by changing the radio buttons given just below that.
9. Create an omni light. Turn on the shadows and u got the grass!

No comments:
Post a Comment