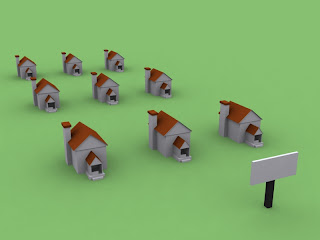
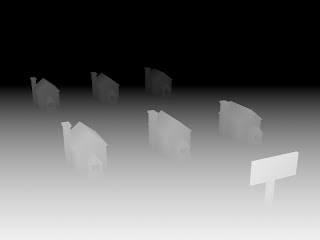
1.After lighting up your scene and rendering it out.Do another render,this time with a few changes.Go to render settings>render elements and add a ZDepth element.Render the scene out.You will get a greyshaded version of the scene.That is the depth map of the shot.


2.Now if you want to apply this to one shot.Open up photoshop.open the original render.Go the the channels tab and add a new layer.Now open the depth map.Copy it then paste it to the new layer in the channels tab of the original render.Turn off the visibility of the new alpha 1 layer.
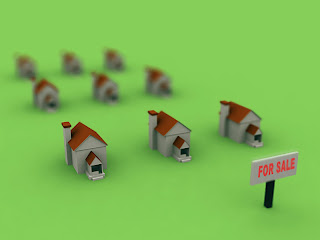
3.Now switch back to the layers tab.Select the image layer and apply a lens blur to it.In the settings,pick the Alpha 1 layer.Now you have the depth data in that layer applied to ur original render. You can tweak the value slider to get the desired effect.

PS: if you want this effect on a video and u are using after effects, the steps are pretty much the same.I will be doing a video tutorial on that soon.Till then enjoy the Static version! ;)

cool tip dude..thanks
ReplyDeleteThanks, exactly the info I needed.
ReplyDeleteYup! Works for me to! Thanks and good luck! ;)
ReplyDeleteGreat tut. This has been a great help. Thanks.
ReplyDeleteThaaaaaaanks
ReplyDelete