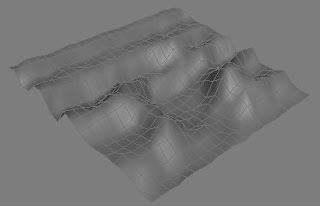
Here is an easy way to create a good looking landscape using the Displace modifier in 3D Studio Max.
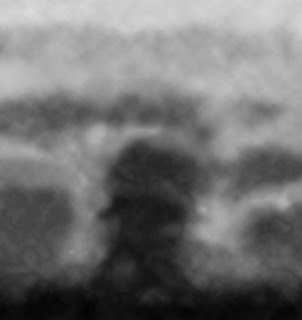
To start with, you have to create a displacement map.You can do this in photoshop. This is basically a gray scale/black & white image which represents the area of displacement.Take a look at the image below:

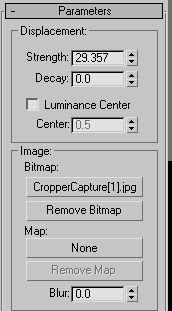
In 3D Max,create a plane and apply from the modifier dropdown, a Displace modifier.Click and select our displacement map on the bitmap slot.

Try varying the strength parameter to make the landscape the way you want.
To Know More,Visit: www.mypaperbird.com

Good sharre
ReplyDelete