
1.Start with a suitable picture to do your out-of-the-bound.Here i am using a picture of a rose i took with my LG Viewty Mobile Phone.
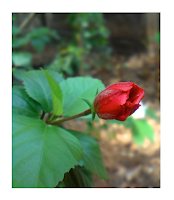
2.Use the Polygonal lasso tool and trace out the rose tip as seen in the picture.Zoom in and try to be as precise as you can.
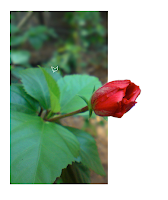
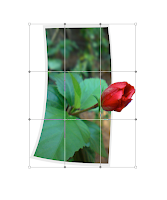
3.Now Select that layer.Cntrl+T to bring up the transform controls.Right Click to choose warp and distort the control points to bend the photo a bit.
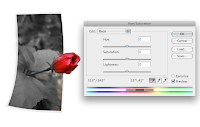
4.Now select Image>Hue/Saturation.Bring down all the color saturation levels to -100 except that of Red.
5.Now we need to create a shadow for the photo.Duplicate the layer.Cntrl+T.Right Click and choose distort. Make it look like its casting on the plane.Apply some Gaussian Blur.Bring down the brightness and contrast until its grey shaded.
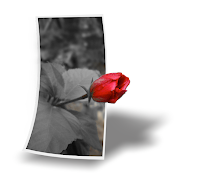
6.To finish up our scene,bring in a couple of old photos.Distort them and place on the plane.Apply Layer shadows to the Photos.

7.You can use the polygonal lasso to define the invisible plane.I applied a bit of noise on to the plane layer.And also placed a blurred photograph to add in as a backdrop.

Download the Out of Bound Wallpaper Here:
http://www.4shared.com/file/97395665/15f56886/out-of-bounds.html
Thats it! Try it on your own photograph. Its fun. Trust me!

This comment has been removed by the author.
ReplyDeleteCan one do this with Elements?
ReplyDeletegreat stuff , keep on the good work
ReplyDelete