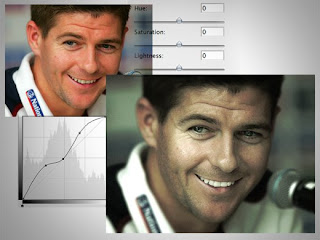
Here's a quick and easy tutorial on image Tone correction using photoshop.
Click the link to read the full post.
1.Open the raw image in photoshop.

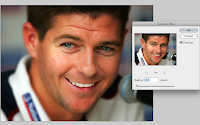
2.Now we need to lighten up the eyes and the teeth.Inorder to do that, select the dodge tool.In the top Options Panel,Drop down and select Highlights in the Range.Now use the dodge brush to light up the needed areas.

3.Create an adjustment layer for Curves and Check "Use previous layer to create clipping mask".Use the eraser tool to remove the unwanted areas from the curves layer.

4.Adjust the Curves to bring down the edge brightness.Give it a more dusky appearance.
5.Now using the polygonal lasso,trace out the face.Invert the selection.Apply a feather and some gaussian blur to make the unwanted areas out of focus.

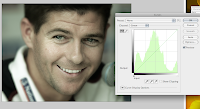
6.Cntrl+M and this will bring up the curves window.Choose channels separately and give a monotonous green look to the image.

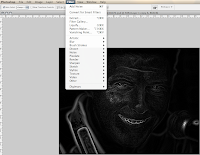
7.Now we need to enhance the features a bit more.Duplicate the image layer.Increase the contrast to the maximum and bring down the brightness to the minimum.Desaturate the image.Go to filter gallery and apply a Glow edges filter.This will give u an alpha map of the highlights.Now change the layer mode of this layer to Overlay and bring down the opacity to 30-35%.

8.Finally flatten all the layers,go to filter>noise and try adding some noise.

Voila!
:)

Thanks Very much. Very helpful
ReplyDeleteGreat Tips
ReplyDelete