
Here's a tutorial on creating a neat looking holiday card in photoshop
click the link to read more...
1.Create a blank document.Apply a gradient fill as seen in the image.

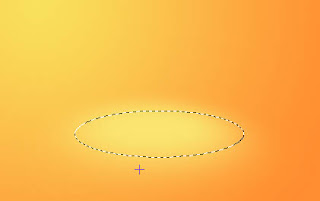
2.Now we need to create a ground plane.Pick the elliptical marquee tool and draw an ellipse by the centre of the document.Now create a new layer.Fill in a light shade to the elliptical selection.Go to Filter and apply a gaussian blur.See the image.
3.Now open up the kids image.As the background is pure white ,we can trace them out easily.Pick the magic wand tool and click on the white area.Invert selection,apply a feather with radius 1 and cut+paste on our document.
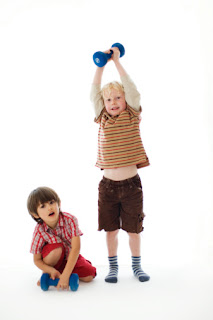
5.Scale it according to the doc size and place it just above the ground layer we created earlier.

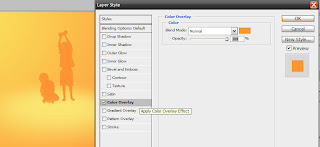
6.Now Double click the kids layer to bring in the layer controls.Goto color overlay and pick a dark shade from the document itself and apply.See the image below.
7.We need to create shadows for the kids.Make a new layer.Place it in between the kids and the ground plane layers.Select a soft brush and pick color grey.Reduce the opacity and flow to 50%.Brush in a mild shadow to the layer as shown in the image.

8.Now we need to create some fancy shapes and symbols.Create a new layer.Select the pen tool.Remember to Switch the brush to paths instead of shapelayers.On the new layer,draw a band as shown in the image.Now right click the path and add a stroke of brush point 3 and simulated pressure.Bring in the layer under the kids layer.
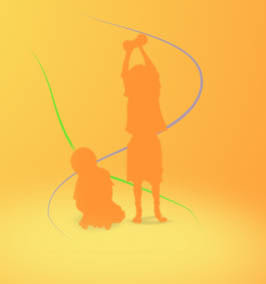
9.You can add the text now to the scene.

10.Use the same method we did on the kids to create a shadow for the text.

11.You can add in more jazz by creating a reflection on the text.Duplicate the text layer.Rasterize it and then Using the transform controls,flip it.Reduce the opacity of the layer.

12.You can add in more elements even from the preset shapes in PS.


No comments:
Post a Comment